Product photography guide
AI Product Photography Prompts: Three Templates You Can Adapt
Prompt Image Atlas editorial team
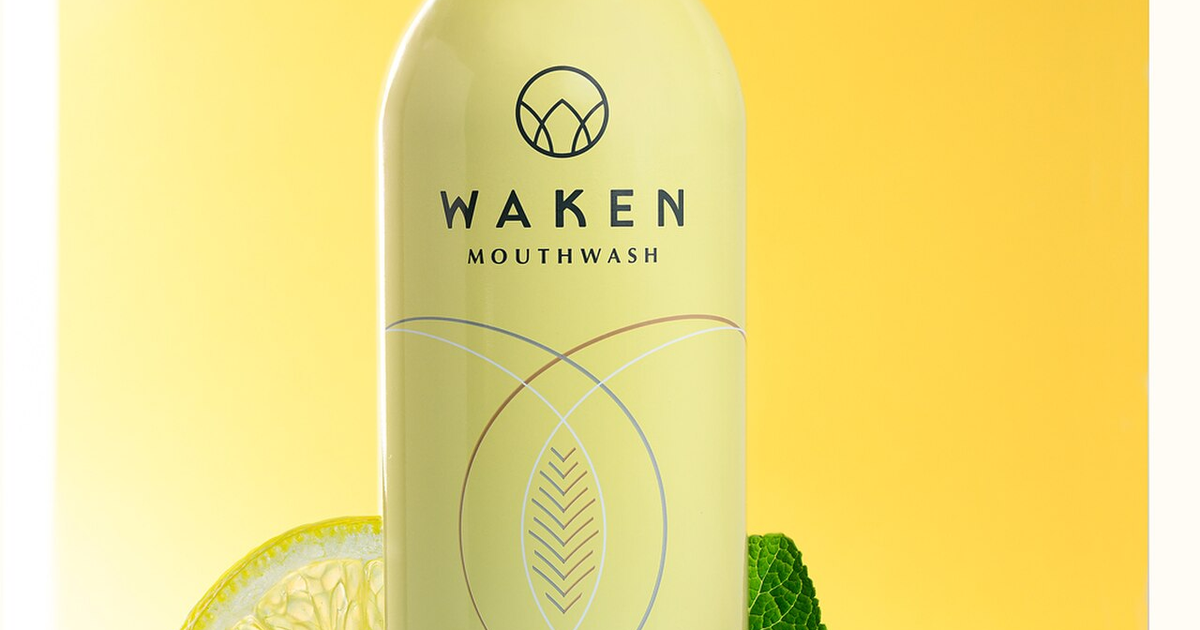
A useful AI product photography prompt separates the product facts from the scene you want to create. Describe the object first, then its position, background, light and framing. Before using a generated picture to represent a real item, compare it with the actual product: attractive lighting does not make an altered label, shape or accessory accurate.
This guide gives you three starting templates for a mug, a packaged snack and a skincare bottle. They are illustrative prompts, not tested results or promises of product fidelity. Replace the details with your own product facts. If you are new to image prompting, start with the basic prompt structure guide.
Decide what the picture needs to show
A simple catalog image should make the product easy to inspect. A lifestyle concept can explore a setting, mood or campaign direction. Write down which job you need before adding props. One prompt asking for both an uncluttered inspection image and a busy café scene leaves you without a clear way to judge the result.
- For a catalog concept, start with one object, an unobstructed silhouette and a simple background.
- For a lifestyle concept, choose one setting and keep the product more prominent than the props.
- For a real sales listing, check the destination's current image requirements separately. These templates do not establish marketplace compliance.
Build a brief around five choices
Start with product facts you can verify: material, color, shape, visible features and the items actually included. Then describe the camera view. “Front view with the handle visible on the right” is a more specific instruction than “professional composition.”
Next choose the background and lighting. Treat these as creative directions to try, not guarantees. Finish with the constraints that matter most. An instruction to keep a label unchanged is a request; it is not evidence that the output has preserved it.
Product image of [object, material, color and identifying features].
[Camera view and object placement]. [Background and surface].
[Light direction and desired shadow]. [Space needed around the object].
Show [included items only]. Keep [critical details] consistent with the reference.
Keep tool-specific controls outside this reusable brief. Set the output shape in your tool's supported controls, and check its documentation before adding parameters from another image generator.
Template 1: A mug on a simple background
Use this starting point when you want to judge shape and finish without distracting props. Substitute the real material and color; do not describe handmade texture if the actual mug is smooth.
Catalog-style product concept of one matte cream ceramic mug with a rounded body and a single curved handle. Three-quarter front view, handle on the right, the whole mug visible and centered. Plain warm-white background and a flat surface. Soft light from the upper left, with a gentle contact shadow under the base. Clear visible rim and ceramic surface, with open space around the mug. Show the mug alone.
Check the handle attachment, rim, base and apparent depth. If the result adds a saucer, remove it from the scene brief rather than treating it as part of the product. If the mug's geometry changes, return to the real photograph; a more flattering silhouette is still a different item.
Template 2: A packaged snack in a small scene
This is a lifestyle concept. Keep the package readable and avoid decorative food that could imply ingredients or quantities the product does not contain.
Lifestyle product concept featuring one sealed snack pouch standing upright on a light wooden table. Use the supplied product reference for the pouch's visible shape and color. Eye-level front view, pouch facing the viewer. A softly blurred kitchen background, with no objects covering the package. Gentle window light from the left, neutral colors and a visible contact shadow. Leave clear space above the pouch for text added later. Show only the sealed pouch in the foreground.
Compare the seal, package proportions and printed wording with the source. Add campaign text in a separate editing step if you need exact copy. Do not assume generated packaging text is correct because it looks plausible at thumbnail size.
Template 3: A skincare bottle with restrained lighting
For a reflective or translucent object, choose a clear lighting direction and inspect its edges. The example below intentionally avoids ingredient props and claims about the product's effects.
Studio product concept of one amber glass skincare bottle with a black screw cap, standing upright on a pale gray surface. Three-quarter front view, complete bottle visible. A large soft light on the left creates a broad reflection along the glass; a subtle shadow anchors the base. Plain background, balanced framing and extra space on the right for layout. Use the reference for the bottle and cap proportions. Show only the bottle.
Check that the cap has not turned into a dropper and that the bottle shape, fill level and label agree with the real object. Reject added logos, ingredient graphics and accessories. A concept image is useful for choosing an art direction even when it is unsuitable as an exact product representation.
Use reference images without assuming an exact copy
In its Image Prompts documentation, Midjourney describes reference images as guidance for new creations rather than exact copies. That distinction matters for product work: providing a photograph does not itself establish that the generated item is unchanged.
If exact appearance is essential, keep the original product photograph as your basis and evaluate an editing or compositing workflow. Review the final image regardless of the workflow. This guide does not claim that a particular editing tool guarantees preservation.
Troubleshoot one choice at a time
- If props dominate, simplify the setting and explicitly identify the single main object.
- If the crop hides an edge, request the whole object and more surrounding space, then check the output dimensions.
- If reflections hide the label, change the light direction and compare the next result at full size.
- If geometry or text is wrong, reject the result for exact product use. More decorative adjectives will not verify accuracy.
Save each prompt with the tool, model and settings you used so you can compare revisions. If your tool supports negative prompts, the negative prompt guide explains a separate troubleshooting approach; do not assume those controls transfer between tools.
Review before using the image
Compare product shape, color, label, contents, included accessories and crop against the real item. Inspect the full-size file and the small version people will actually see. Keep a concept separate from an approved product image until those checks are complete.
For another starting point, explore the prompt gallery and borrow a composition idea while keeping your product facts fixed. The useful experiment is a specific change you can evaluate, such as a simpler background or a different light direction.